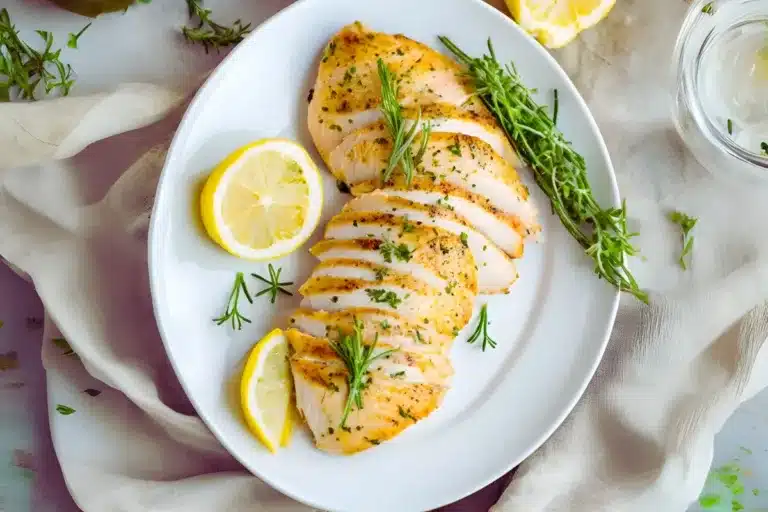
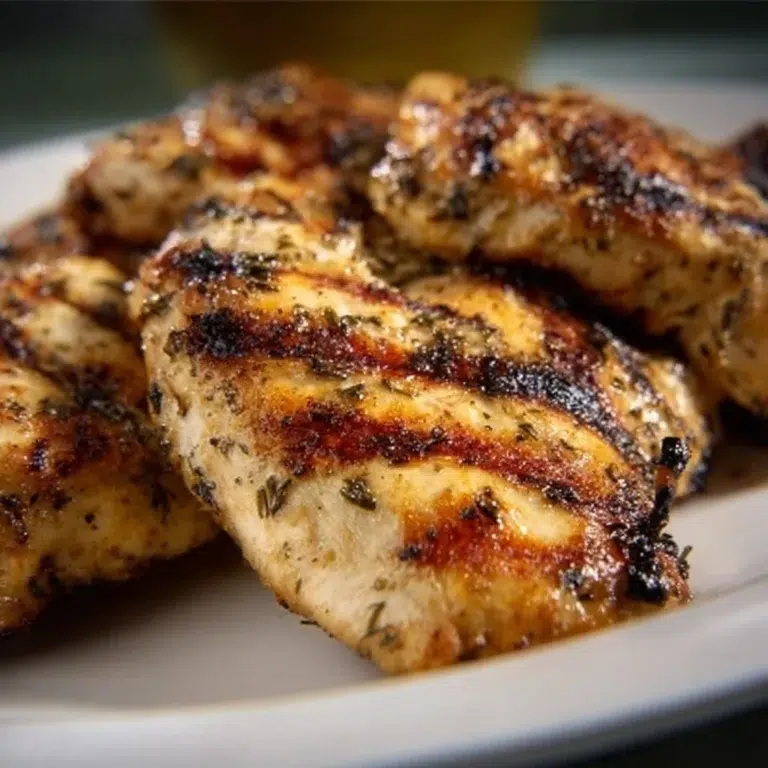
Chicken breast is a staple in many households, beloved for its versatility and health benefits. However, achieving perfectly baked chicken breasts—juicy on the inside and flavorful throughout—requires the right techniques and temperature. Baking at 400°F has quickly become a favorite method for many home cooks and chefs alike, as it provides the perfect balance of quick cooking and optimal texture.
In this article, we’ll explore why 400°F is considered the ideal temperature for bake chicken breasts. Additionally, we’ll share essential tips and techniques to help you master this popular cooking method with ease. If you’ve ever wondered how to bake chicken breasts at 400°F to perfection every time, this comprehensive guide will provide everything you need to know for consistently delicious results.
Why Bake Chicken Breasts at 400°F is Popular
Bake chicken breasts at 400°F is a widely preferred method among both home cooks and professional chefs. This moderately high temperature not only allows the chicken to cook evenly and efficiently but also helps retain its natural juices, ensuring a tender and flavorful result every time.
Benefits of Baking at Higher Temperatures
When you bake chicken breasts at 400°F, the higher heat locks in moisture, creating a tender and juicy texture. Additionally, this temperature allows for slight caramelization, enhancing the overall flavor profile. Here are some key benefits:
- Shorter cooking time: High heat reduces cooking time, making it perfect for busy weeknights.
- Better flavor development: The Maillard reaction at higher temperatures creates a savory crust.
- Juicier results: Cooking quickly at 400°F prevents the chicken from drying out.
Common Cooking Challenges for Chicken Breasts
Despite being a popular protein choice, chicken breasts are notorious for becoming dry or bland when cooked improperly. Common challenges include:
- Uneven cooking: Variations in thickness often lead to overcooked edges and undercooked centers.
- Loss of moisture: Overbaking or improper preparation can result in dry, chewy meat.
- Lack of flavor: Without adequate seasoning, chicken breasts may taste bland.
Understanding these challenges is the first step in mastering the art of bake chicken breasts.
Nutritional Importance of Chicken Breast
Chicken breast isn’t just delicious—it’s also one of the healthiest protein options available. Its nutrient profile makes it an excellent choice for various dietary needs.
High-Protein Content and Health Benefits
Chicken breast is renowned for its high protein content. A single 4-ounce serving provides around 26 grams of lean protein, essential for muscle building and repair. It is also low in fat, with minimal saturated fat content, making it heart-healthy. Learn more about the nutritional benefits of chicken breast here.
Additional benefits include:
- Low in calories: Ideal for weight management and calorie-controlled diets.
- Rich in vitamins and minerals: Includes vitamin B6, phosphorus, and selenium, which support energy metabolism and immune function.
Ideal for Balanced Diets and Meal Prepping
Chicken breast’s versatility makes it a go-to for balanced diets. It pairs well with grains, vegetables, and healthy fats to create complete meals. Moreover, its mild flavor allows for endless seasoning and preparation options, making it a favorite among meal preppers. If you’re new to meal prepping, explore our Beginner’s Guide to Meal Prep for tips and tricks to get started. Bake chicken breasts at 400°F ensures a perfect texture for reheating without losing moisture, a key advantage for meal prep enthusiasts.
Overview of Chicken Breast Cooking Techniques
While bake at 400°F is a standout method, it’s essential to understand how it compares to other popular cooking techniques.
Baking vs. Other Cooking Methods (Grilling, Pan-Seared, etc.)
Each cooking method offers unique benefits:
- Grilling: Adds a smoky flavor but requires careful monitoring to avoid dryness.
- Pan-searing: Creates a crispy exterior but can be tricky to cook evenly without overcooking.
- Baking: Offers consistent results with less active monitoring. It’s also ideal for cooking multiple portions simultaneously.
When baking at 400°F, you achieve a balance of the tenderness of grilling and the ease of preparation of pan-searing.
How Cooking Temperature Affects Taste and Texture
Temperature plays a critical role in determining the outcome of your chicken breast. At lower temperatures, chicken can take longer to cook, potentially leading to moisture loss. On the other hand, excessively high temperatures may cause the exterior to overcook before the center is done.
At 400°F:
- The chicken cooks evenly while retaining moisture.
- The exterior develops a slightly golden, flavorful crust.
- The interior remains juicy and tender, thanks to the shorter cooking time.
In summary, bake chicken breasts at 400°F is a reliable method to achieve consistently delicious results.
Cooking Time for Chicken Breasts at 400°F
Understanding the cooking time for chicken breasts is critical to achieving perfectly baked results. The baking time depends on factors like the size of the chicken breasts, whether they are bone-in or boneless, and the accuracy of your oven temperature.
Average Baking Time for Different Sizes
Small chicken breasts typically bake chicken breasts at 400°F within 20-25 minutes, making it an ideal choice for quick meals.
Small Breasts (4-6 oz): 20-25 Minutes
For smaller chicken breasts, the cooking time ranges from 20 to 25 minutes when baked at 400°F. These cuts cook quickly and are ideal for weeknight meals when time is limited. Be cautious not to overbake, as smaller pieces tend to dry out faster.
Large Breasts (8-10 oz): 25-30 Minutes
Larger chicken breasts require more time to cook thoroughly, typically around 25 to 30 minutes at 400°F. To ensure even cooking, you might consider pounding them to an even thickness before baking. This simple step helps prevent the edges from overcooking while the center reaches the desired temperature.
Factors That Affect Baking Time
While size is a primary determinant, other factors significantly influence baking time. Understanding these variables helps you adapt recipes and achieve consistent results.
Bone-In vs. Boneless
Bone-in chicken breasts generally take longer to bake than their boneless counterparts. The bone acts as an insulator, requiring more time for the heat to penetrate the meat. For bone-in breasts, add 5-7 minutes to the standard cooking time to ensure they are fully cooked.
Thickness and Oven Calibration
The thickness of chicken breasts can vary greatly, even among similarly sized cuts. Thicker pieces naturally take longer to bake. For accurate results, consider slicing thick breasts in half or pounding them to an even thickness.
Additionally, not all ovens maintain a consistent temperature. If your oven runs cooler or hotter than expected, the baking time may vary. Using an oven thermometer ensures you’re baking at the correct temperature.
Importance of Using a Meat Thermometer
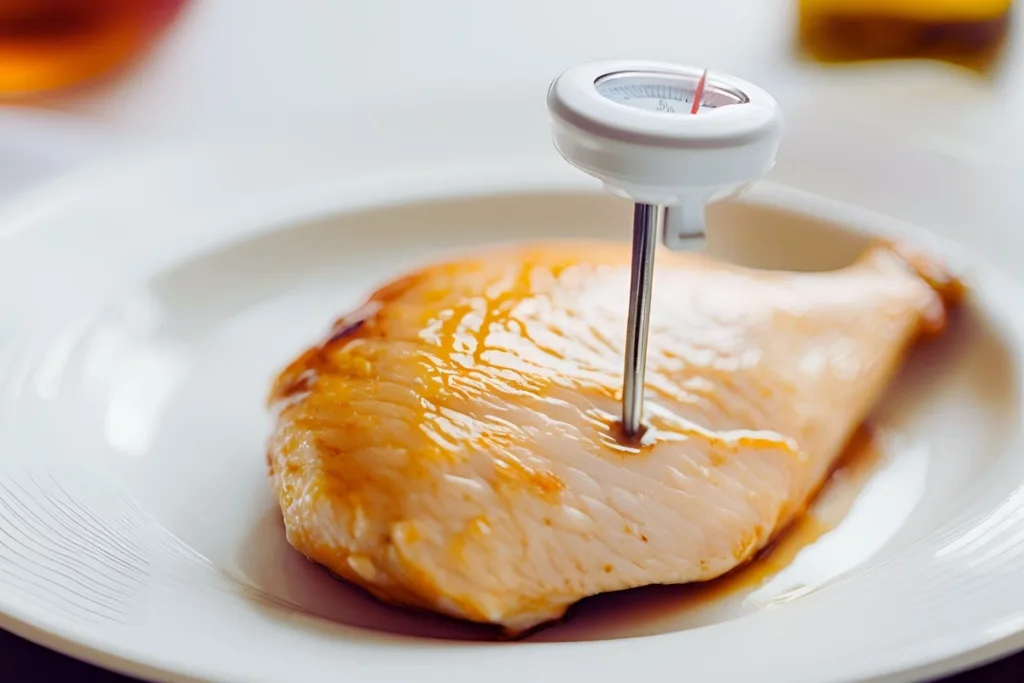
A meat thermometer is an invaluable tool for ensuring that your chicken breasts are cooked to perfection. It eliminates guesswork and prevents undercooking or overcooking. Using a meat thermometer ensures your efforts to bake chicken breasts at 400°F yield safe and delicious results.
Safe Internal Temperature of 165°F
The USDA recommends an internal temperature of 165°F for chicken to ensure it is safe to eat. To check, insert the thermometer into the thickest part of the breast, avoiding contact with the bone. Once the temperature reads 165°F, your chicken is fully cooked and ready to rest.
350°F vs. 400°F: Which is Better for Baking Chicken?
The choice between baking at 350°F and 400°F often depends on personal preferences and cooking goals. While both temperatures are popular, they produce noticeably different results. For a detailed look at how temperature impacts the flavor and safety of baked chicken, check out our Perfect Guide to Baking Chicken.
Comparison of Cooking Times and Outcomes
At 350°F, chicken breasts take longer to cook, averaging 30-35 minutes for medium-sized cuts. The lower temperature allows for a gentler cooking process, which some believe preserves more moisture. However, it may result in a less flavorful exterior due to the reduced browning.
In contrast, Bake chicken breasts at 400°F shortens the cooking time while creating a slightly crispier surface. The higher temperature caramelizes the outer layer, delivering a richer flavor and appealing texture.
Differences in Juiciness and Texture
Baking at 350°F is often recommended for dishes where the chicken is paired with a sauce or cooked alongside vegetables that require a longer roasting time. This lower temperature may result in a slightly softer texture, but it also increases the risk of drying out the meat if overbaked.
Meanwhile, 400°F provides a perfect balance of juiciness and texture. The quicker cooking time minimizes moisture loss, and the resulting crust enhances the overall dining experience.
Situations Where 350°F is Preferred
There are cases where 350°F may be the better option:
- When cooking with delicate sauces: Lower heat prevents the sauce from burning.
- For longer baking recipes: Recipes with additional ingredients that require extended cooking times benefit from the gentler temperature.
- If using bone-in cuts: Slower cooking at 350°F ensures even heat distribution around the bone.
Best Temperature for Baking Boneless Chicken Breasts
To bake chicken breasts at 400°F ensures you achieve the ideal balance of juicy interiors and flavorful exteriors.
Why 400°F Strikes the Perfect Balance
Baking boneless chicken breasts at 400°F achieves consistent results by combining speed and quality. The high temperature seals in juices, preventing the chicken from drying out. At the same time, the exterior develops a golden-brown crust, adding visual appeal and a burst of flavor.
Impact of Temperatures Below or Above 400°F
Cooking below 400°F, such as at 350°F, may result in softer but less flavorful chicken. On the other hand, temperatures above 400°F, such as 425°F, can lead to overbrowning or even burning the exterior before the interior reaches the safe temperature of 165°F.
Each temperature range has its pros and cons:
- Below 400°F: Retains moisture but lacks browning.
- Above 400°F: Creates a crisp crust but increases the risk of drying out.
Recommendations Based on Cooking Goals
Retaining Moisture
To prioritize moisture, brining or marinating the chicken before baking can enhance results at 400°F. Additionally, using a baking dish with a cover or tenting the chicken with foil helps trap steam and preserve juiciness.
Developing a Slightly Crispy Exterior
For those seeking a slightly crisp exterior, bake uncovered at 400°F and consider a light brush of oil or butter on the surface. This not only enhances browning but also contributes to a richer flavor.
By selecting 400°F, you achieve a harmonious balance between these two goals, making it the go-to temperature for baking boneless chicken breasts.
Bake chicken breasts at 400°F is a reliable method that yields tender, flavorful results. With the proper understanding of cooking times, the differences between 350°F and 400°F, and the impact of various temperatures, you can adapt this method to suit your needs.
Cooking Chicken Breast Without Drying It Out
One of the biggest challenges in cooking chicken breasts is preventing dryness. These lean cuts of meat can quickly lose moisture if not handled correctly, especially at higher temperatures like 400°F. However, with proper preparation and techniques, you can consistently achieve juicy and flavorful results.
Preparing Chicken Breasts for Baking
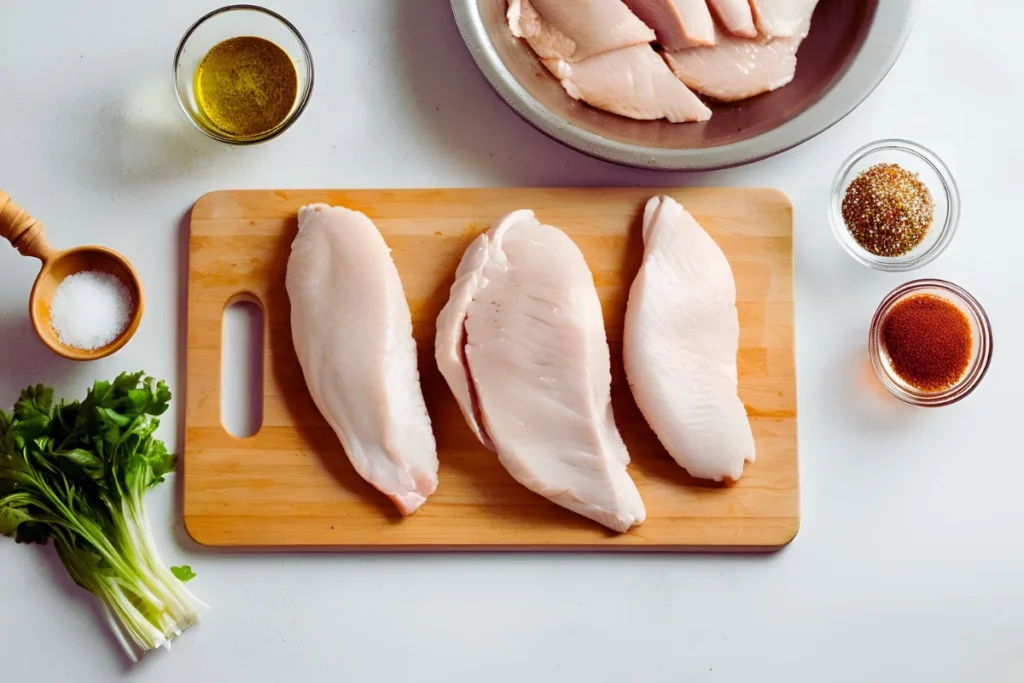
Preparation plays a crucial role in ensuring your chicken breasts turn out moist and tender. Whether you are brining or seasoning, every step adds layers of flavor and helps protect against dryness.
Brining for Extra Juiciness
Short on time? Discover quick and delicious meal options like these 15-Minute Meals for Busy Moms.
Brining is one of the most effective methods for retaining moisture. This process involves soaking the chicken in a saltwater solution before baking. The salt penetrates the meat, enhancing its ability to retain water during cooking.
To brine chicken breasts:
- Dissolve ¼ cup of salt in 4 cups of water.
- Submerge the chicken breasts in the solution for 30 minutes to 1 hour.
- Rinse the chicken lightly and pat it dry before seasoning.
Brining not only helps maintain juiciness but also seasons the meat from the inside, making each bite flavorful.
Seasoning and Marinades for Flavor
Seasoning is essential to elevate the flavor of chicken breasts. A simple mix of salt, pepper, garlic powder, and paprika can go a long way. For even more depth, consider marinating the chicken for at least 1 hour.
Popular marinade ingredients include:
- Olive oil or yogurt for richness.
- Lemon juice or vinegar for acidity.
- Herbs and spices like rosemary, thyme, or cumin for aromatic notes.
By brining or marinating, you set the foundation for a delicious, well-seasoned chicken breast that won’t dry out during baking.
Techniques to Retain Moisture During Baking
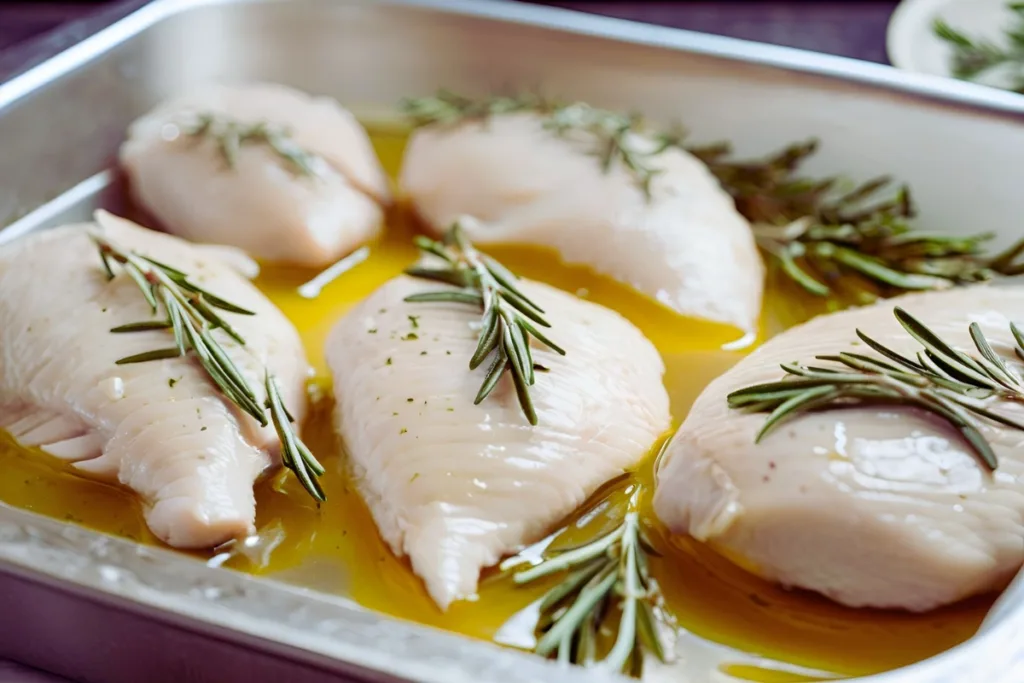
The baking process itself is where many home cooks struggle with dryness. By using simple techniques, you can lock in the natural juices of the chicken.
Covering with Foil vs. Open Baking
Deciding whether to cover your chicken breasts while baking depends on your desired results. Covering with foil creates a steaming effect, which traps moisture and prevents drying. This method is ideal for beginners or when baking plain chicken breasts.
On the other hand, baking uncovered allows for browning and a slightly crisp exterior. If choosing this method, brushing the chicken with olive oil or butter helps protect it from drying out.
Adding Liquids or Fat (Oil, Butter, or Broth)
Incorporating a small amount of liquid or fat can significantly improve the texture and flavor of baked chicken breasts. Adding broth or wine to your baking dish can elevate your chicken dinner. Find more easy tips in our 5-Ingredient Weeknight Dinners.
Here’s how to do it:
- Place the chicken in a baking dish.
- Pour ¼ cup of liquid (broth, wine, or water) into the dish.
- Cover with foil if desired to trap the steam.
This method ensures the chicken stays moist while absorbing flavors from the added liquids.
The Role of Resting After Cooking
Even after the chicken is removed from the oven, it continues to cook slightly due to residual heat. Allowing the chicken to rest before slicing is crucial for retaining moisture.
How Long to Rest Chicken Breasts for Best Results
After baking, let the chicken rest for 5-10 minutes before cutting. This waiting period allows the juices to redistribute evenly throughout the meat. If you slice too soon, the juices may spill out, leaving the chicken dry.
To rest chicken properly:
- Cover it loosely with foil to keep it warm.
- Use a clean cutting board to catch any residual juices, which can be drizzled back over the slices for added flavor.
Resting ensures each bite is tender and juicy, enhancing the overall experience of your meal.
Step-by-Step Guide to Bake Chicken Breasts at 400°F
To achieve perfectly baked chicken breasts, following a systematic approach is key. This step-by-step guide outlines the necessary equipment, preparation, and cooking techniques for success. Looking for another simple and flavorful chicken recipe? Try these Baked Chicken Cutlets for a quick, crispy alternative.
Equipment Needed (Oven, Meat Thermometer, Baking Dish)
Having the right tools simplifies the cooking process and ensures precise results. Essential equipment includes:
- Oven: Preheat to 400°F for consistent cooking.
- Meat thermometer: To confirm the internal temperature reaches 165°F.
- Baking dish or sheet pan: Choose a dish with sides to contain liquids.
Optional but helpful items include a silicone baking mat for easy cleanup and foil for covering the chicken during baking.
Cooking Instructions for Perfectly Baked Chicken Breasts
Preheating and Preparing the Oven
Preheat your oven to 400°F for at least 10 minutes. While waiting, prepare the chicken breasts by trimming any excess fat and pounding them to an even thickness.
Timing Tips Based on Weight and Thickness
- Small breasts (4-6 oz): Bake for 20-25 minutes.
- Large breasts (8-10 oz): Bake for 25-30 minutes.
- Bone-in breasts: Add an additional 5-7 minutes to the total cooking time.
Always use a meat thermometer to ensure the chicken is fully cooked. Insert it into the thickest part of the breast, aiming for a reading of 165°F.
Common Mistakes to Avoid
Even experienced cooks can encounter issues when bake Bake chicken breasts at 400°F. Avoiding these common mistakes ensures your results are consistently excellent.
Overcooking or Undercooking
Overcooking is the primary reason chicken breasts turn out dry. On the other hand, undercooking poses food safety risks. Always rely on a meat thermometer to verify doneness, rather than guessing based on color or time alone.
Not Checking Internal Temperature Properly
Failing to measure the internal temperature accurately can lead to inconsistent results. Ensure the thermometer is inserted into the thickest part of the breast, avoiding bones or thin edges.
Additionally, calibrating your oven periodically helps maintain accurate baking temperatures, preventing overcooking or uneven results.
By following these preparation and cooking techniques, you can bake chicken breasts at 400°F with confidence, knowing they’ll turn out juicy and flavorful every time.
FAQs About Bake Chicken Breasts at 400°F
Bake chicken breasts at 400°F is a straightforward method, but many cooks still have questions about best practices. Below are answers to some of the most common queries.
How Long Should You Bake Chicken Breasts at 400°F?
The baking time depends on the size and thickness of the chicken breasts:
- Small breasts (4-6 oz): 20-25 minutes.
- Large breasts (8-10 oz): 25-30 minutes.
Always use a meat thermometer to ensure the internal temperature reaches 165°F.
Is It Better to Bake Chicken at 350°F or 400°F?
Both temperatures have their merits, but 400°F offers a balance between faster cooking and better flavor development. Baking at 350°F is preferred for recipes requiring longer cooking times or when baking bone-in cuts.
What Is the Best Temperature for Baking Boneless Chicken Breasts?
For boneless chicken breasts, 400°F is ideal. It ensures the chicken cooks quickly while retaining moisture and developing a slightly crispy exterior.
Can You Bake Chicken Breasts Without Covering Them?
Yes, baking uncovered is perfectly fine, especially if you want a golden, slightly crispy exterior. To retain moisture, brush the chicken with oil or butter and consider adding a small amount of liquid to the baking dish.
What Is the Best Way to Prevent Dry Chicken Breasts?
Preventing dryness involves:
- Brining: Soak the chicken in a saltwater solution.
- Using a meat thermometer: Ensure the internal temperature is 165°F.
- Resting the meat: Allow it to rest for 5-10 minutes after baking.
Can You Add Vegetables to the Baking Dish?
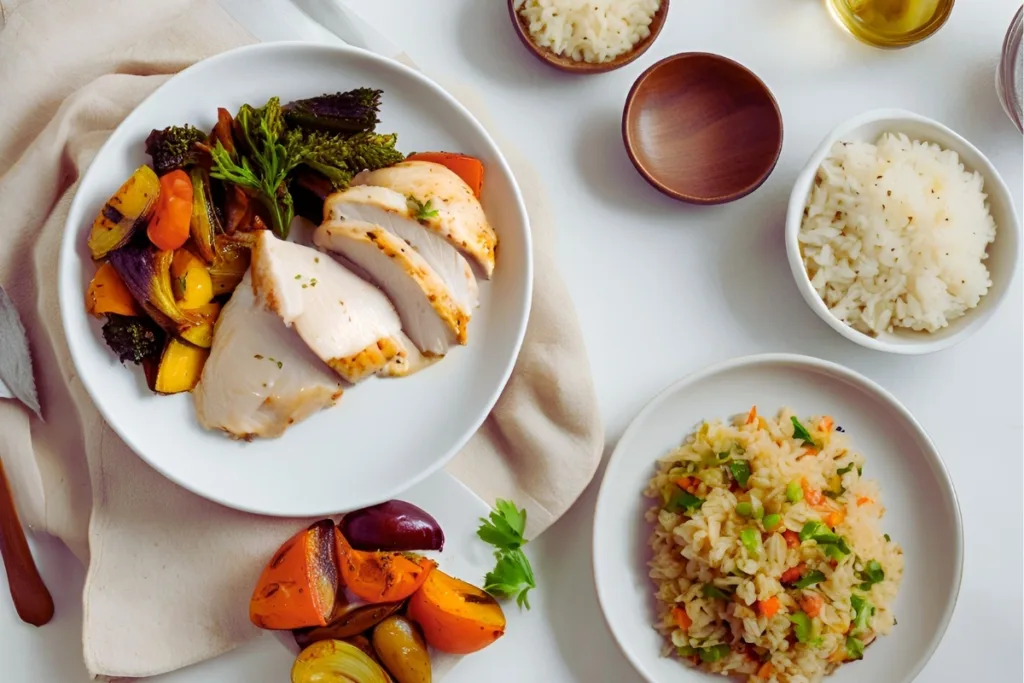
Yes, adding vegetables like carrots, zucchini, or potatoes to the dish is an excellent way to create a one-pan meal. Toss the vegetables with oil and seasoning, and bake alongside the chicken.
How to Reheat Baked Chicken Breasts Without Losing Moisture?
Reheat baked chicken breasts at 300°F, covered with foil, to prevent drying out. Adding a splash of broth or water to the dish can help retain moisture.
By following these tips, you can confidently bake chicken breasts at 400°F with excellent results every time.

