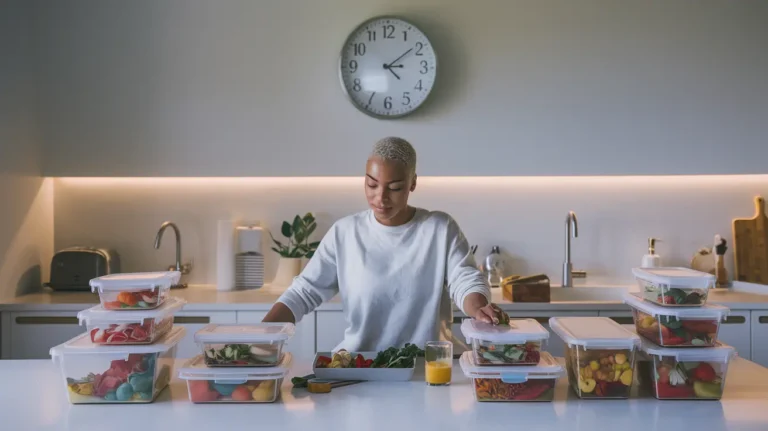
Busy parents often find themselves juggling work, family commitments, and household chores, leaving little time to ensure their family enjoys healthy, home-cooked meals. Meal prepping offers a game-changing solution, helping you save time, reduce stress, and keep your family well-fed throughout the week. However, the effectiveness of meal prepping depends heavily on a solid storage system.
Without the right storage hacks, your efforts could literally go to waste. In this comprehensive guide, we’ll explore 10 ingenious meal prep storage hacks tailored specifically for busy parents. These tips not only save you precious time but also reduce food waste, ensuring your meal prep efforts pay off in the long run. Discover the ‘lazy meal prep’ approach – a set of effortless, efficient techniques designed to simplify your meal prep and make your life easier.
1. Invest in Quality Containers
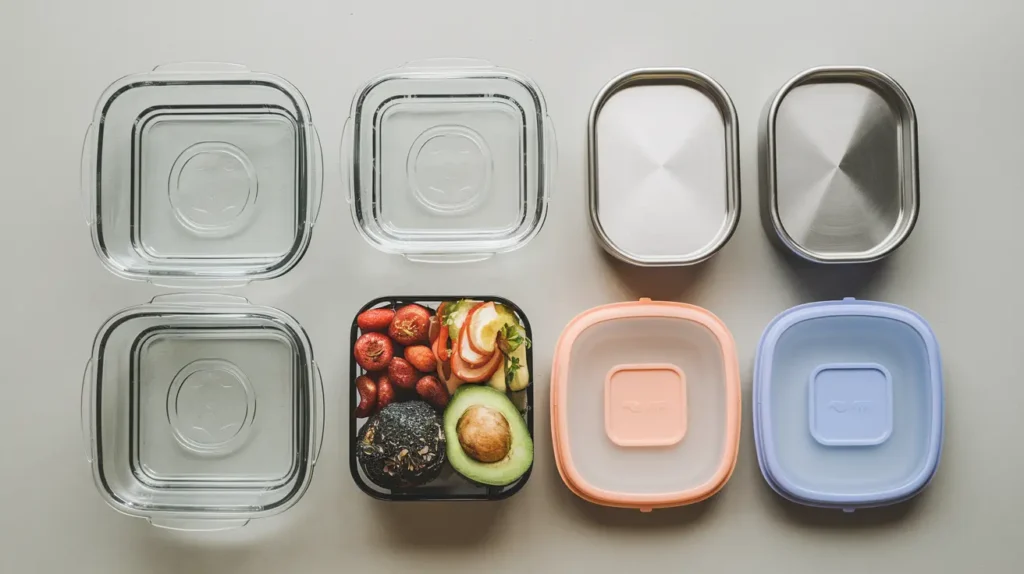
Regarding meal prepping, your storage containers can make or break your efforts. Investing in high-quality, durable containers is crucial for busy parents who want to streamline their meal prep process. Make the Meal Prep Storage Hacks easy.
Why Quality Containers Matter
- Longevity: Durable containers withstand frequent use and washing, saving you money in the long run.
- Leak-proof: High-quality containers prevent spills and keep your prepped meals fresh.
- Versatility: The best containers are microwave-safe, freezer-safe, and dishwasher-safe.
- Portion control: Containers with compartments help with portion sizing and keeping foods separate.
Recommended Containers for Busy Parents
- Glass containers: Durable, eco-friendly, and perfect for reheating meals.
- Stainless steel containers: Lightweight, unbreakable, and great for kids’ lunchboxes.
- BPA-free plastic containers: Affordable and lightweight, ideal for on-the-go meals.
Pro tip: Look for containers with clear lids to easily identify contents without opening them.
By investing in the right containers, you’ll save time searching for matching lids, reduce the risk of spills, and keep your prepped meals fresher for longer. One of the clever Meal Prep Storage Hacks.
2. Use Mason Jars for Fresh Salads
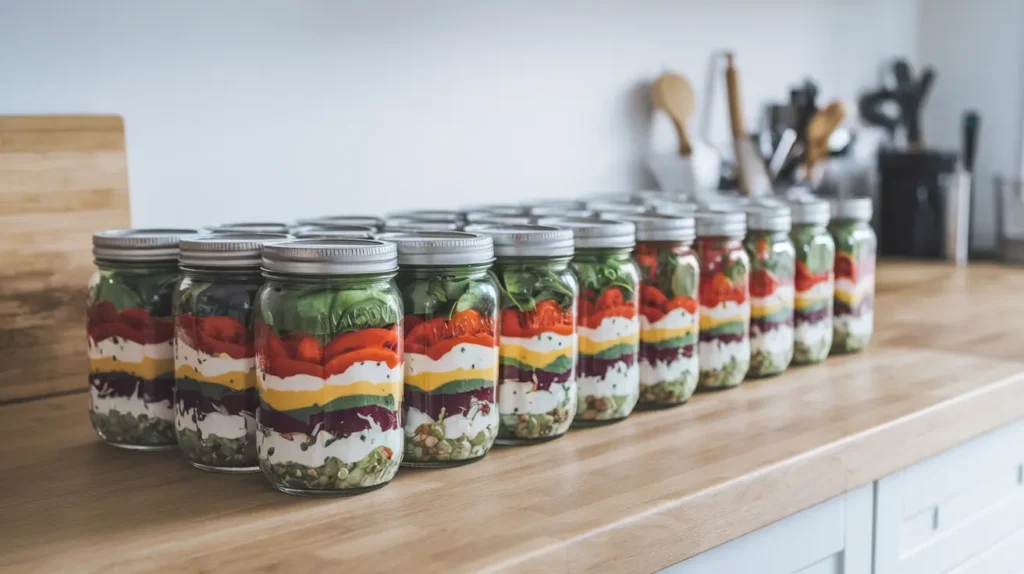
Mason jars aren’t just for canning anymore. These versatile glass containers are a meal prep superstar, especially when it comes to keeping salads fresh and crisp throughout the week.
The Layering Technique
The key to perfect mason jar salads is all in the layering. Here’s how to do it:
- Bottom layer: Start with the dressing to prevent soggy greens.
- Second layer: Add hard vegetables like carrots, cucumbers, or bell peppers.
- Third layer: Include proteins like grilled chicken, tofu, or hard-boiled eggs.
- Fourth layer: Add softer vegetables or fruits like tomatoes or berries.
- Top layer: Finish with leafy greens and any crunchy toppings like nuts or seeds.
When you’re ready to eat, simply shake the jar to distribute the dressing, and pour it into a bowl.
Benefits for Busy Parents
- Time-saving: Prep multiple salads at once for grab-and-go lunches.
- Space-efficient: Mason jars stack easily in the fridge.
- Customizable: Easy to create different salads for each family member’s preferences.
Pro tip: Use wide-mouth mason jars for easier filling and eating directly from the jar if desired.
By mastering the art of mason jar salads, you’ll always have a fresh, healthy meal option ready to go, saving you valuable time during busy weekdays. keep reading to master the Meal Prep Storage Hacks.
3. Freeze Food in Portion Sizes
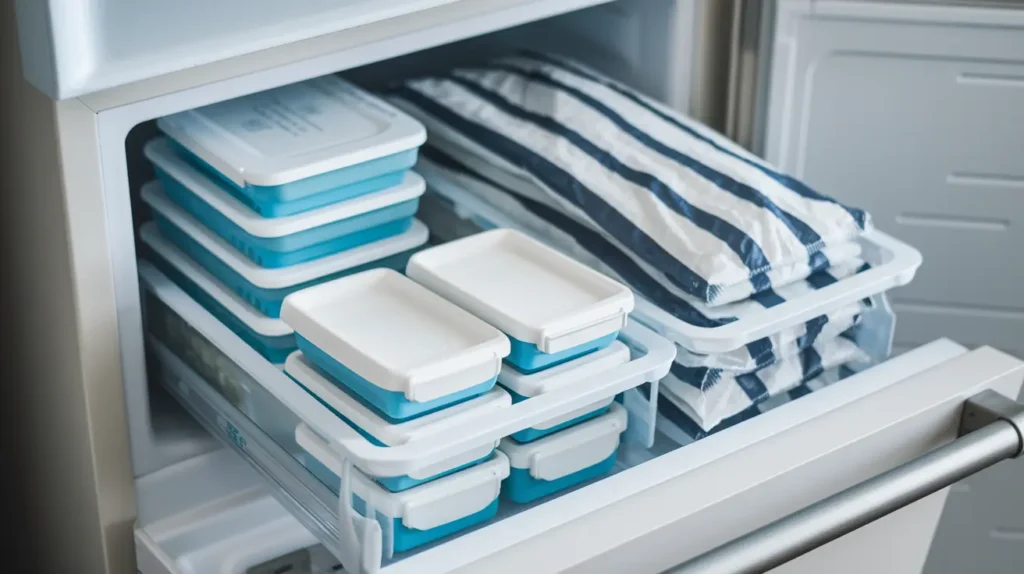
Freezing meals in individual portions is a game-changer for busy parents. This method not only helps reduce food waste but also saves time when it comes to reheating and serving meals.
Benefits of Portioned Freezing
- Reduced waste: Thaw only what you need, preventing excess food from spoiling.
- Quick defrosting: Smaller portions thaw faster than large batches.
- Variety: Easily mix and match different meals throughout the week.
- Portion control: Helps with managing serving sizes for both adults and children.
How to Freeze in Portions
- Cool completely: Allow cooked food to cool before portioning to prevent bacterial growth.
- Use appropriate containers: Opt for freezer-safe containers or heavy-duty freezer bags.
- Remove air: Squeeze out excess air from bags to prevent freezer burn.
- Label clearly: Include the dish name and date of freezing.
- Arrange flat: Freeze bags flat for easy stacking and space-saving.
Best Foods for Portioned Freezing
- Soups and stews
- Casseroles
- Cooked grains (rice, quinoa)
- Sauces and marinades
- Smoothie packs
Pro tip: Freeze individual portions of sauces in ice cube trays. Once frozen, transfer to a freezer bag for easy portioning.
By mastering the art of freezing in portions, you’ll always have a variety of homemade meals ready to go, perfect for those hectic evenings when cooking from scratch isn’t an option.
4. Stack Freezer Bags to Maximize Space

For busy parents, freezer space is prime real estate. Stacking freezer bags is an ingenious way to maximize this space while keeping your meal prep organized and easily accessible.
The Stacking Method
- Prep and fill: Prepare your meals and fill freezer bags as usual.
- Remove air: Squeeze out excess air to prevent freezer burn.
- Flatten bags: Lay bags flat on a baking sheet and freeze until solid.
- Stack vertically: Once frozen, stack bags vertically in your freezer like files in a filing cabinet.
Benefits of Vertical Stacking
- Space-efficient: Utilize vertical space in your freezer.
- Easy access: Quickly find and remove desired meals without digging.
- Better organization: Group similar meals together for easy meal planning.
Tips for Successful Stacking
- Use sturdy, high-quality freezer bags to prevent tears.
- Label each bag clearly with the contents and date.
- Consider using magazine holders or small boxes to keep stacks organized.
Pro tip: For easy pouring, freeze liquids like soups or sauces at an angle in the bag. Once frozen, they can be stacked vertically with a convenient pouring spout.
By implementing this stacking method, you’ll transform your freezer into an organized meal prep haven, making it easier than ever to provide your family with homemade meals on busy nights.
5. Pre-Pack Smoothie Ingredients
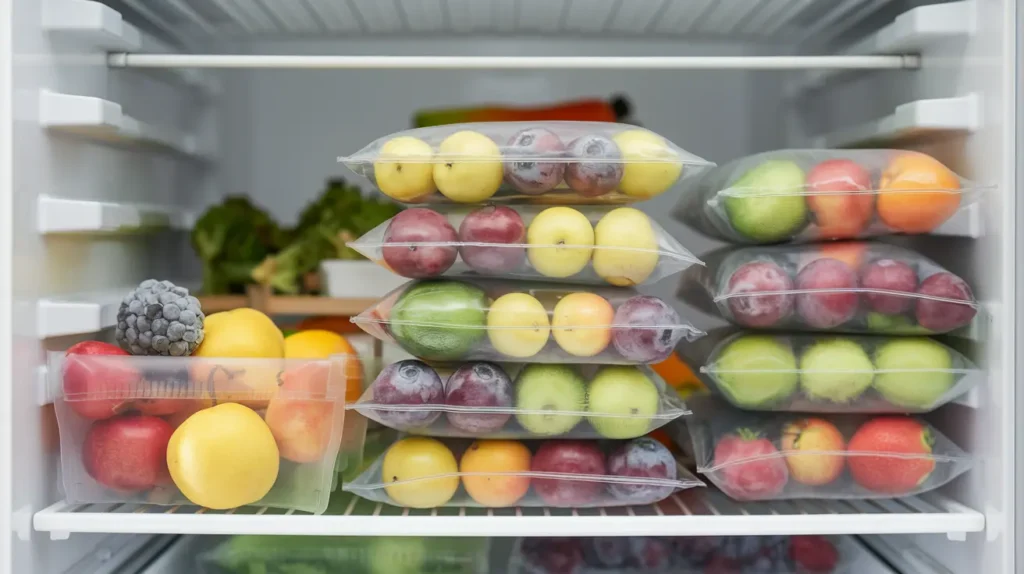
Mornings can be chaotic for busy parents, but that doesn’t mean you have to skip out on nutritious breakfasts. Pre-packing smoothie ingredients is a brilliant hack that can save you precious time during the morning rush while ensuring your family starts the day with a healthy boost.
How to Pre-Pack Smoothie Ingredients
- Choose your ingredients: Select a variety of fruits, vegetables, and add-ins like chia seeds or protein powder.
- Portion and pack: Divide ingredients into individual servings in small freezer bags or containers.
- Remove air: Squeeze out excess air from bags to prevent freezer burn.
- Label and date: Mark each pack with contents and date.
- Freeze flat: Lay bags flat in the freezer for easy stacking and storage.
Benefits for Busy Parents
- Time-saving: Grab a pack, blend, and go – no measuring or chopping required.
- Reduces waste: Use up ripe fruits and vegetables before they spoil.
- Customizable: Create different combinations for each family member’s taste preferences.
- Nutrient preservation: Freezing locks in nutrients, ensuring a nutritious drink every time.
Pro tip: Add fresh ingredients like spinach or kale to your packs – they freeze well and blend smoothly when frozen.
By implementing this smoothie prep hack, you’ll ensure your family can enjoy nutritious, homemade smoothies even on the busiest mornings.
6. Label Everything to Stay Organized
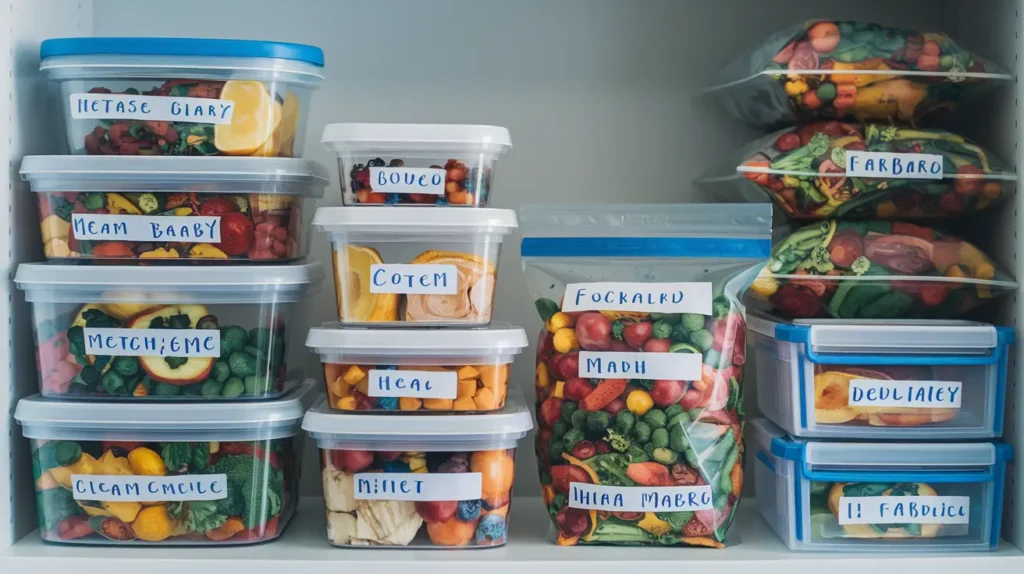
In the world of meal prep, proper labeling is your secret weapon against confusion and food waste. For busy parents juggling multiple meals and snacks for the whole family, a good labeling system can be a game-changer.
Why Labeling is Crucial
- Prevents confusion: Easily identify contents without opening containers.
- Reduces food waste: Keep track of when food was prepared to ensure timely consumption.
- Streamlines meal planning: Quickly see what meals you have available.
- Helps with portion control: Label portion sizes for easy grab-and-go meals.
Effective Labeling Strategies
- Use a label maker: For clear, waterproof labels that won’t smudge.
- Write on masking tape: An affordable option that’s easy to remove and replace.
- Dry erase markers: Great for glass or plastic containers that you reuse often.
- Color coding: Assign colors to different meal types or family members.
What to Include on Labels
- Meal name or contents
- Date Prepared
- Use-by date
- Reheating instructions (if necessary)
- Portion size or number of servings
Pro tip: Create a meal prep inventory sheet to track what’s in your fridge and freezer. Update it weekly to streamline your meal planning and shopping.
By implementing a consistent labeling system, you’ll save time, reduce stress, and ensure that your meal prep efforts are fully utilized.
7. Vacuum-Seal for Freshness
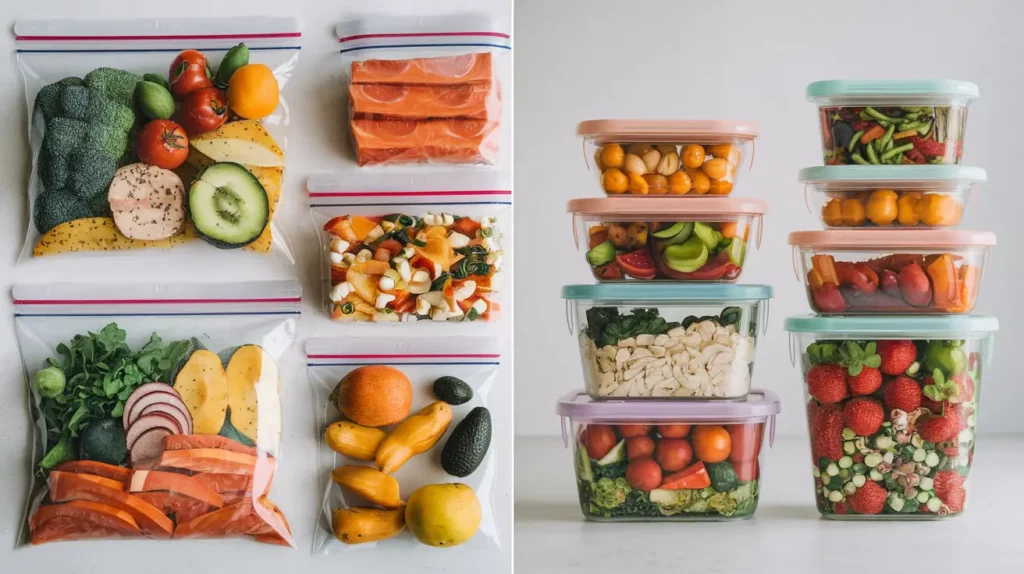
For busy parents looking to take their meal prep game to the next level, vacuum sealing is a fantastic investment. This method can significantly extend the shelf life of your prepared meals and ingredients, saving you time and reducing food waste in the long run.
Benefits of Vacuum Sealing
- Extended freshness: Removes air that can lead to spoilage, keeping food fresh up to five times longer.
- Space-saving: Vacuum-sealed bags take up less space in your fridge or freezer.
- Prevents freezer burn: Ideal for long-term freezer storage.
- Versatile: Can be used for dry goods, fresh produce, meats, and even liquids.
What to Vacuum Seal
- Portioned meats for easy thawing
- Chopped vegetables for quick meal prep
- Batch-cooked meals like soups or stews
- Dried goods like nuts, cereals, or flour to prevent staleness
Tips for Effective Vacuum Sealing
- Leave enough room in the bag for the seal.
- For moist foods, freeze them before vacuum sealing to prevent liquid from interfering with the seal.
- Use textured bags for better air removal with moist foods.
- Label bags clearly with contents and date before sealing.
Pro tip: For items you access frequently, consider using vacuum seal containers instead of bags. These can be easily resealed without needing a new bag each time.
Investing in a vacuum sealer might seem like an extra step, but for busy parents, the time and money saved on food preservation can be significant.
8. Repurpose Containers to Save Money
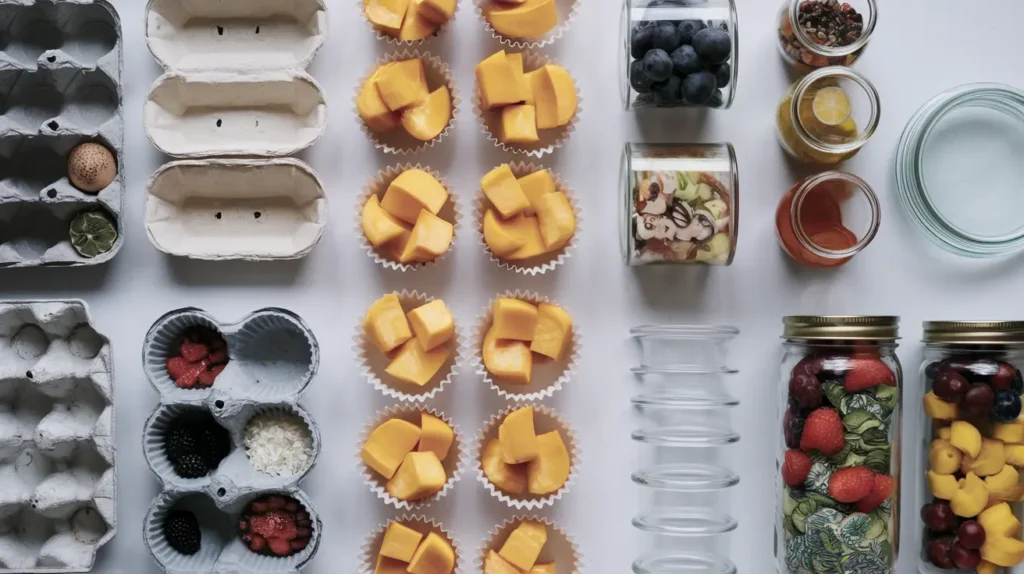
As a busy parent, you’re likely always looking for ways to save money without compromising on quality. One of the most budget-friendly meal prep hacks is to repurpose containers you already have at home. This not only saves you money but also reduces waste and encourages creativity in your meal prep routine.
Ideas for Repurposing Containers
- Ice cube trays: Perfect for freezing herbs, sauces, or baby food portions.
- Egg cartons: Great for storing small items like cherry tomatoes or boiled eggs.
- Glass jars: Ideal for overnight oats, layered salads, or storing dry goods.
- Muffin tins: Use for freezing individual portions of soups or stews.
- Takeout containers: Clean and reuse them for portioning out leftovers or lunches.
Benefits of Repurposing
- Cost-effective: Save money on buying new storage containers.
- Eco-friendly: Reduce plastic waste by reusing items.
- Customizable: Adapt containers to fit your specific meal prep needs.
- Space-saving: Often stackable and designed to fit well in fridges and cupboards.
Pro tip: Before repurposing, always ensure containers are thoroughly cleaned and suitable for food storage. Avoid using containers that previously held non-food items.
By getting creative with repurposing, you can build an effective meal prep storage system without breaking the bank.
9. Use Drawer Organizers to Keep Snacks Handy
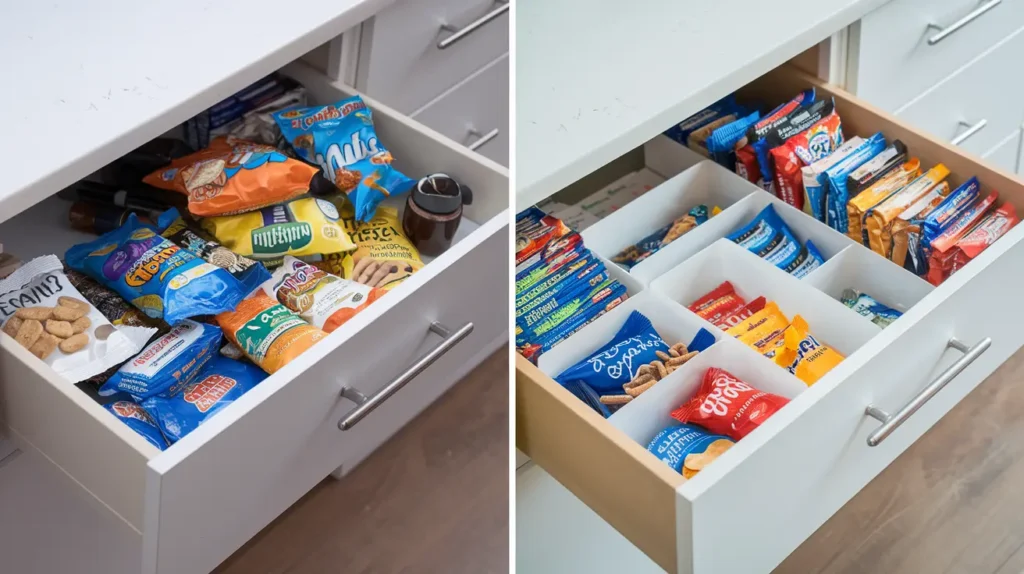
For busy parents, having easily accessible, healthy snacks can be a lifesaver. Using drawer organizers to keep snacks handy is a simple yet effective hack that can streamline your family’s snacking routine and make meal prep even more efficient.
Benefits of Organized Snack Drawers
- Easy access: Kids can quickly find and grab approved snacks.
- Portion control: Use compartments to pre-portion snacks.
- Visibility: See what snacks are available and what needs restocking.
- Reduces waste: Prevent snacks from getting lost or forgotten at the back of the pantry.
How to Organize Your Snack Drawer
- Choose the right organizers: Look for adjustable or modular systems to customize your setup.
- Group similar items: Keep like items together (e.g., all granola bars in one section).
- Use clear containers: See contents at a glance.
- Label sections: Help family members quickly find what they’re looking for.
- Rotate stock: Place newer items at the back to ensure older snacks get eaten first.
Snack Ideas for Easy Storage
- Individual bags of nuts or trail mix
- Pre-cut vegetables in small containers
- Whole fruits like apples or oranges
- Single-serve cheese portions
- Homemade energy balls in small containers
Pro tip: Create a “snack station” in your fridge using the same organization principles. Include cut vegetables, fruits, and other perishable snacks for easy, healthy options.
By implementing an organized snack system, you’ll save time, reduce stress, and promote healthier snacking habits for the whole family. Check this Healthy After-School Snacks Your Kids Will Actually Eat Blog Post.
10. Store Foods at Their Peak Freshness
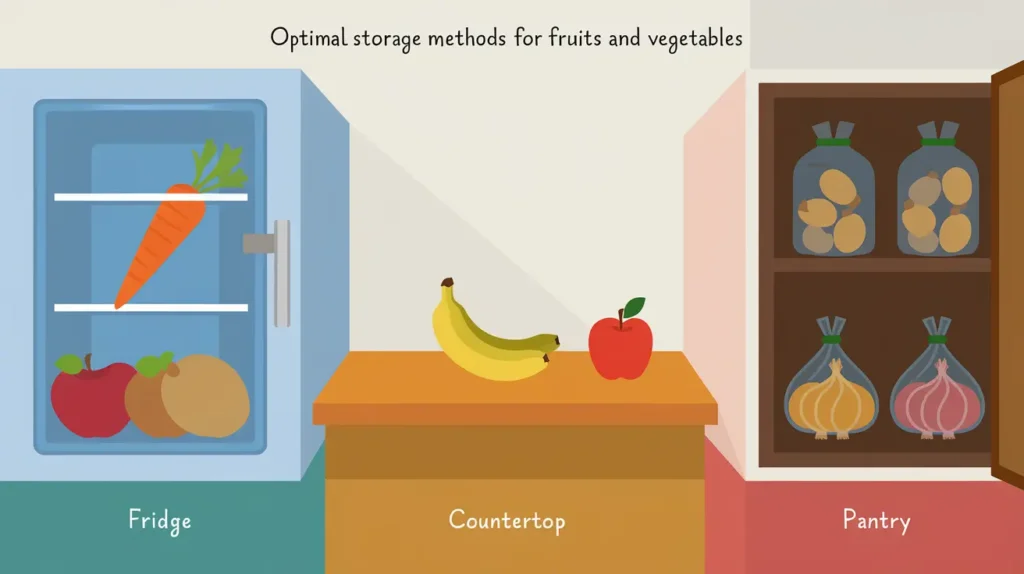
The key to successful meal prep is starting with ingredients at their peak freshness. Knowing how to properly store fruits, vegetables, and other perishables can significantly extend their life, reduce waste, and ensure your family always has access to nutritious ingredients.
General Storage Tips
- Know your fridge: Understand the temperature zones in your refrigerator and use them appropriately.
- Use the crisper drawers: Control humidity for optimal fruit and vegetable storage.
- Don’t wash until ready to use: Excess moisture can speed up spoilage.
- Separate ethylene-producing foods: Keep these away from ethylene-sensitive items to prevent premature ripening.
Optimal Storage for Common Ingredients
Refrigerate:
- Leafy greens (in a sealed container with a paper towel)
- Berries (unwashed, in a breathable container)
- Cut fruits and vegetables
- Herbs (stems in water, covered with a plastic bag)
Countertop:
- Tomatoes (stem-side up)
- Bananas (hang on a banana hook if possible)
- Avocados (until ripe, then refrigerate)
- Potatoes and onions (in a cool, dark place, not together)
Freezer:
- Overripe bananas (peeled and bagged for smoothies)
- Bread (sliced for easy portioning)
- Cooked grains and beans
- Seasonal fruits and vegetables (blanched and portioned)
Pro tip: Create a “use first” bin in your fridge for items that need to be consumed soon. Check this bin when meal planning to reduce waste.
By storing your ingredients properly, you’ll ensure that your meal prep starts with the freshest possible ingredients, leading to tastier meals and less food waste.
Conclusion: Revolutionize Your Family’s Meal Time
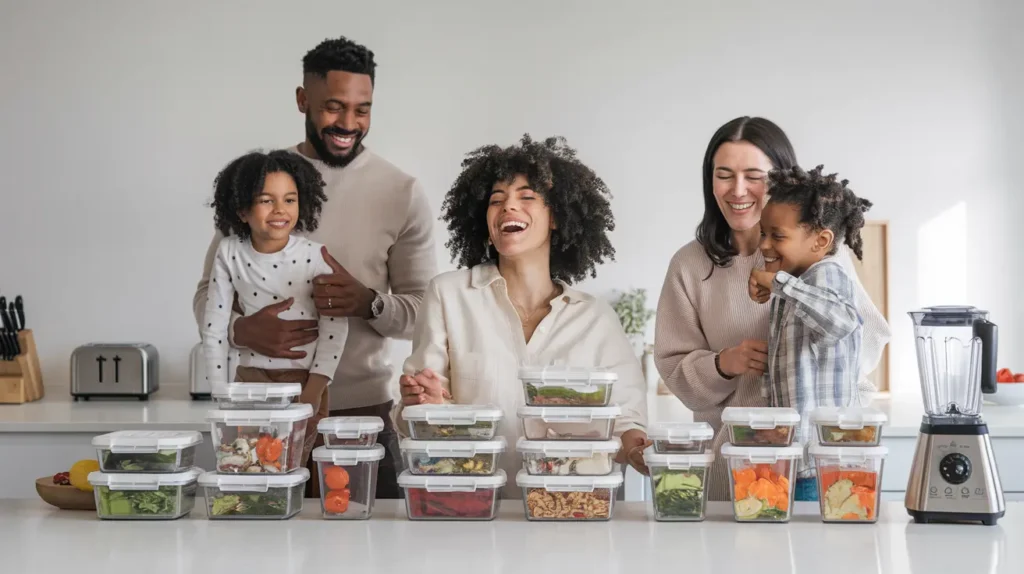
Congratulations! You’ve just unlocked the secrets to mastering meal prep storage as a busy parent. By implementing these 10 ingenious hacks, you’re well on your way to transforming your kitchen into a haven of efficiency and organization. Let’s quickly recap the game-changing strategies we’ve explored:
- 1. Invest in quality containers
- 2. Use mason jars for fresh salads
- 3. Freeze food in portion sizes
- 4. Stack freezer bags to maximize space
- 5. Pre-pack smoothie ingredients
- 6. Label everything to stay organized
- 7. Vacuum-seal for freshness
- 8. Repurpose containers to save money
- 9. Use drawer organizers to keep snacks handy
- 10. Store foods at their peak freshness
Remember, the key to successful meal prepping is finding a system that works for you and your family. Don’t be afraid to experiment and adjust these hacks to fit your specific needs and lifestyle. With practice, meal prepping will become second nature, allowing you to enjoy more quality time with your loved ones while still providing nutritious, home-cooked meals.
Take Action and Share Your Success!
Now it’s your turn to put these hacks into action. We’d love to hear about your meal prep journey:
– Which hack are you most excited to try?
– Do you have any additional tips or tricks that have worked well for your family?
– How has meal prepping changed your daily routine?
Share your experiences in the comments below or tag us on social media with your meal prep victories. Your insights could be the inspiration another busy parent needs!
Remember, every small step towards better organization and efficiency in the kitchen is a win. You’re not just prepping meals; you’re creating more time for what truly matters – your family.
So, grab those containers, fire up that label maker, and get ready to revolutionize your family’s meal time. Your future self (and your well-fed family) will thank you!
Happy prepping, and here’s to less stress and more joy in your kitchen adventures!
FAQs
1. Why is meal prep storage important for busy parents?
Meal prep storage is crucial for busy parents because it saves time, reduces food waste, and ensures that healthy, home-cooked meals are readily available. Proper storage techniques keep food fresh, organized, and easy to access, making it easier to manage busy schedules while maintaining a balanced diet for the family.
2. What are the best containers for meal prep?
The best containers for meal prep are durable, leak-proof, and versatile. Glass containers are eco-friendly and microwave-safe, stainless steel containers are lightweight and unbreakable, and BPA-free plastic containers are affordable and great for on-the-go meals. Look for containers with compartments for portion control and clear lids for easy identification.
3. How can I keep salads fresh for meal prep?
Mason jars are perfect for keeping salads fresh. Use the layering technique: start with dressing at the bottom, followed by hard vegetables, proteins, softer vegetables, and leafy greens on top. This method prevents sogginess and keeps salads crisp for days.
4. What foods freeze well for meal prep?
Foods that freeze well include soups, stews, casseroles, cooked grains (like rice and quinoa), sauces, and pre-portioned smoothie ingredients. Freezing in individual portions helps reduce waste and makes reheating quick and convenient.
5. How can I maximize freezer space for meal prep?
Stacking freezer bags vertically is a great way to maximize space. Flatten the bags after filling them, freeze them flat, and then stack them like files in a filing cabinet. This method saves space and makes it easy to find and access meals.
6. What are the benefits of vacuum sealing for meal prep?
Vacuum sealing extends the freshness of food by removing air, prevents freezer burn, and saves space in the fridge or freezer. It’s ideal for storing portioned meats, chopped vegetables, and batch-cooked meals like soups and stews.
7. How can I save money on meal prep storage?
Repurpose containers you already have, such as glass jars, ice cube trays, egg cartons, and takeout containers. This approach is cost-effective, eco-friendly, and allows you to customize your storage system without buying new containers.
8. What’s the best way to organize snacks for busy families?
Use drawer organizers to keep snacks handy and pre-portioned. Group similar items together, use clear containers for visibility, and label sections for easy access. This system promotes healthier snacking habits and reduces waste.
9. How can I store fruits and vegetables to maintain freshness?
Store fruits and vegetables at their peak freshness by using the crisper drawers in your fridge, keeping ethylene-producing foods separate, and avoiding washing produce until you’re ready to use it. Proper storage extends shelf life and reduces waste.
10. Why is labeling important for meal prep?
Labeling helps you stay organized by identifying contents, tracking preparation dates, and ensuring timely consumption. It also streamlines meal planning and prevents confusion, especially when prepping meals for the whole family.
Follow Lazy Meal Prep on your favorite platform and become part of our cozy kitchen crew:
- Instagram – for behind-the-scenes peeks and weekday inspiration
- Facebook – to swap ideas, tips, and share what you’re cooking
- Pinterest – to save and plan your week the lazy-smart way
Let’s make cooking easier, together—one delicious bite at a time.

